Guide Topic 01
Guide topic 02
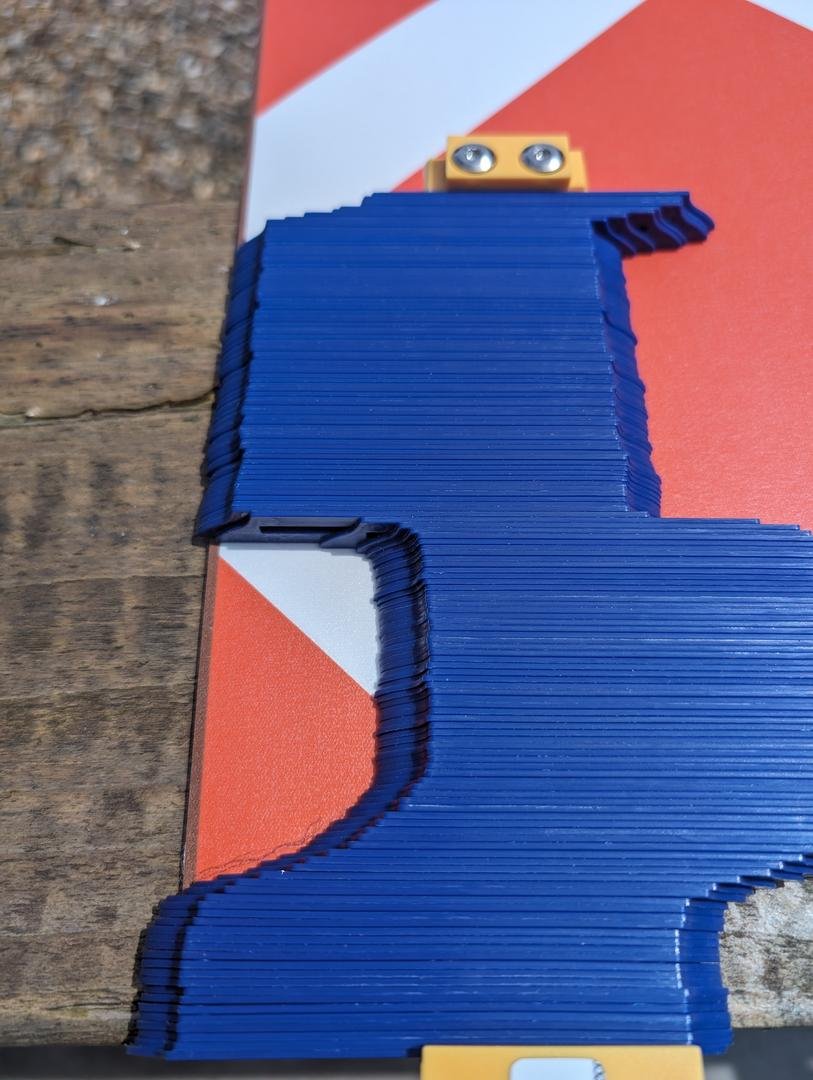
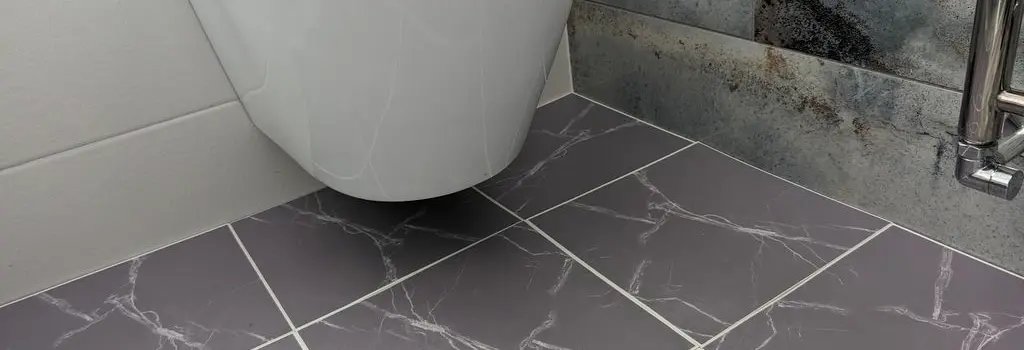
Transfer the Shape to the Tile. Once the contour gauge has captured the shape.
Carefully lift it from the object and transfer the pattern onto the vinyl tile. Place the gauge on the tile and trace the shape with a pencil.
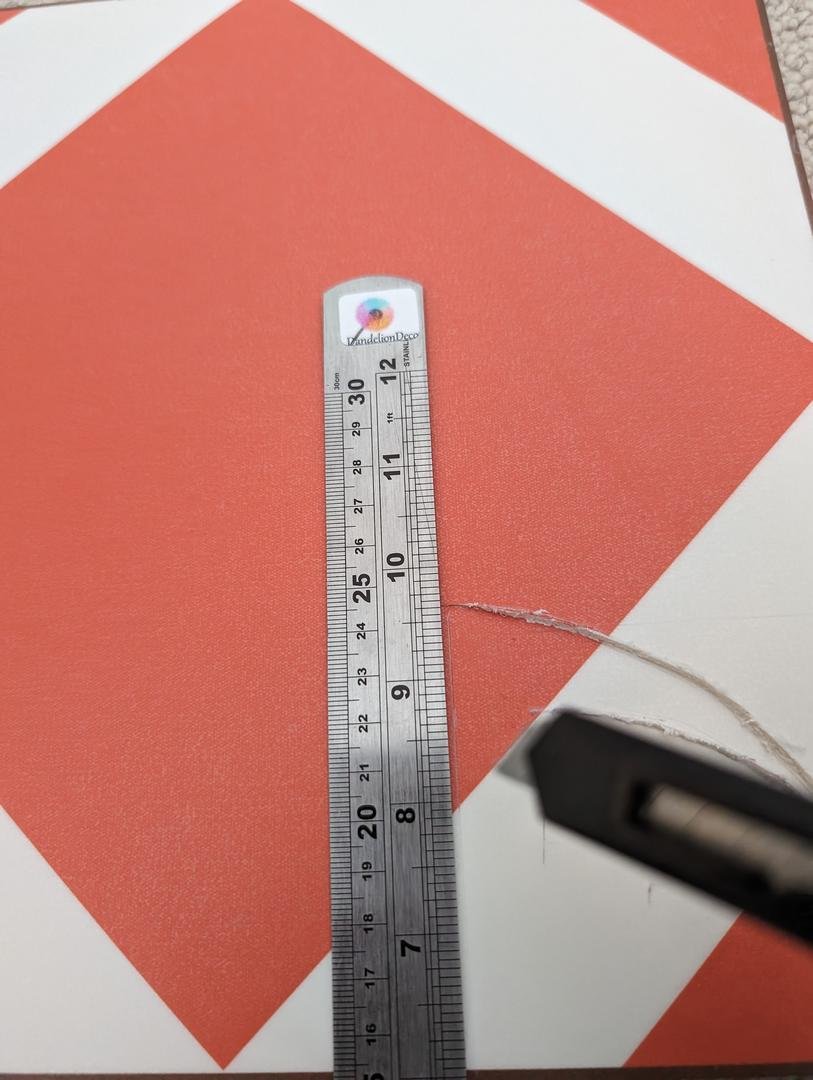
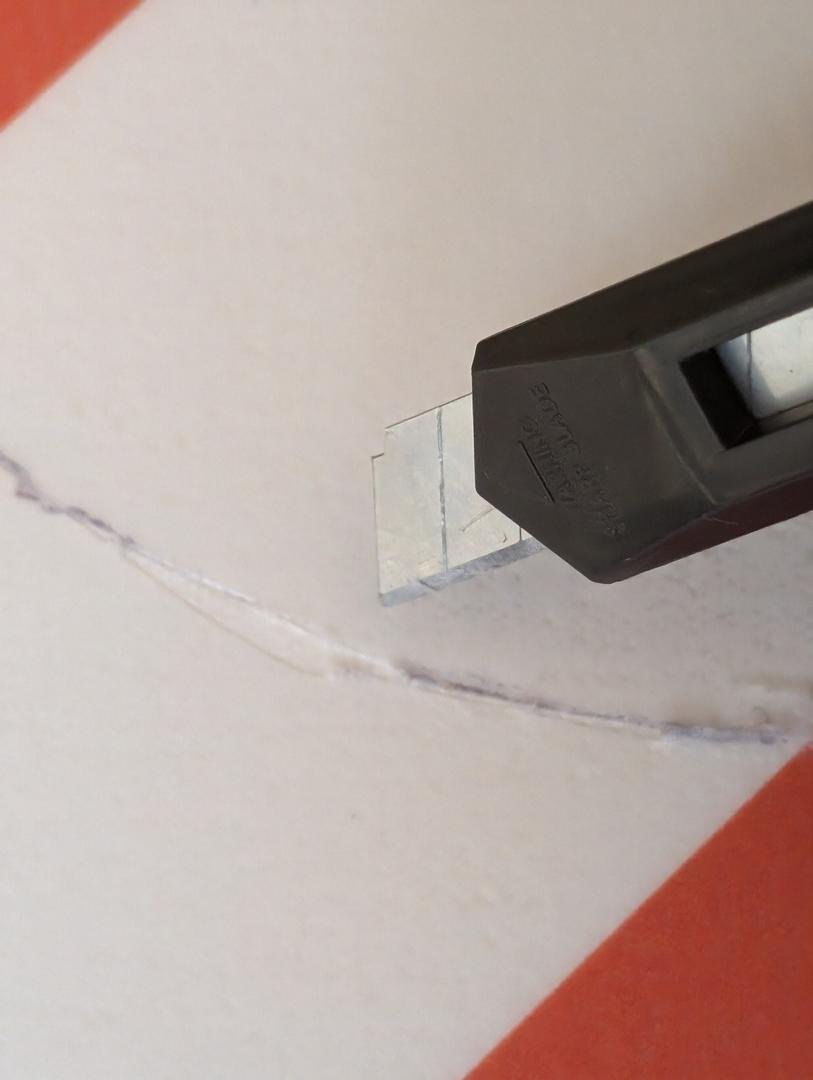
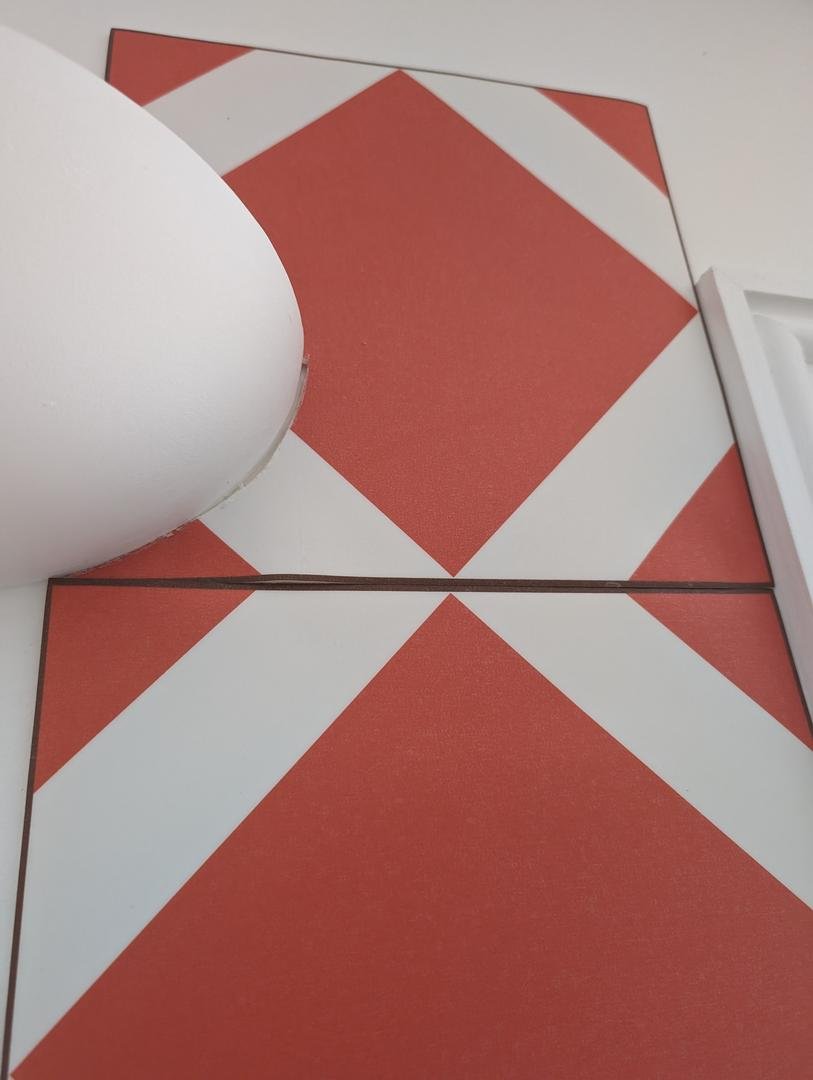
Cut the tile, cut along the Outline, use a utility knife and rule to carefully cut the vinyl tile along the traced lines. Score the tile first and then snap it along the cut to create a clean edge. Test fit the Tile. After cutting, fit the tile into place around the obstacle to ensure it fits properly. Make any necessary adjustments by trimming small portions if needed.
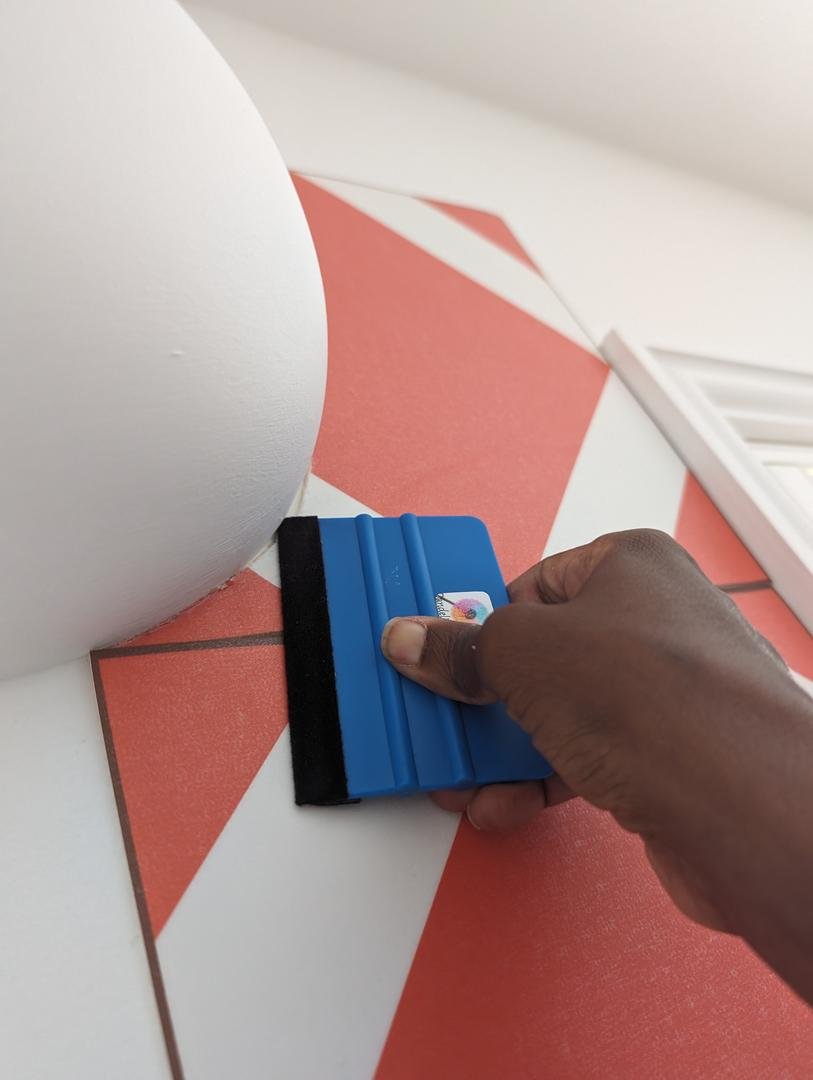
Lay the tile, Peel and Stick, once the cut tiles fit around the obstacle, peel the backing off the tile and press it firmly into place, using a squeegee.
Once all tiles are laid, use squeegee to ensure all tiles are adhered evenly and there are no air pockets, your floor should now look fabulous.
Tile Size
20 cm × 20 cm
Total Area
—
square metres
Tiles Required
—
tiles